Still entering data directly into Excel cells?
If so, there’s a faster, safer, and more professional way: using forms.
Forms organize your input fields, prevent errors, and improve the user experience. The challenge? Creating forms in Excel usually requires VBA coding.
But here’s the good news:
you can build powerful forms in Excel without writing a single line of code.
💡 Why use forms in Excel?
Typing directly into rows and columns — scrolling endlessly across your spreadsheet — is slow, tiring, and error-prone.
Smart UI changes that by bringing the power of dynamic and intuitive forms into Excel.
Here’s how data entry forms — especially with Smart UI — make a difference:
✅ Save Time and Boost Productivity
No more jumping between cells to find the right field. Forms display all fields of a record in one clean view — faster, easier, and more efficient.
✅ Better User Experience
Smart UI creates clean, familiar, and user-friendly interfaces — ideal for users at any level.
✅ Fewer Errors
Avoid typing in the wrong column. Forms guide users through the input process, improving accuracy even with complex datasets.
✅ Built-In Validation
Validation rules ensure structured, consistent, and complete data entry — right from the form.
✅ Focused Viewing
Each form shows all fields of a record in a single screen, eliminating the need to scroll sideways through wide tables.
✨ Smart UI brings all of these benefits to Excel — with no coding and a ready-to-use interface.
Whether you’re managing orders, customer records, internal processes, or survey results, Smart UI helps you work faster, smarter, and with fewer mistakes.
⚙️ How to build a form — no coding required
With the Smart UI add-in, you can create fully functional data entry forms in just a few clicks. Here’s how:
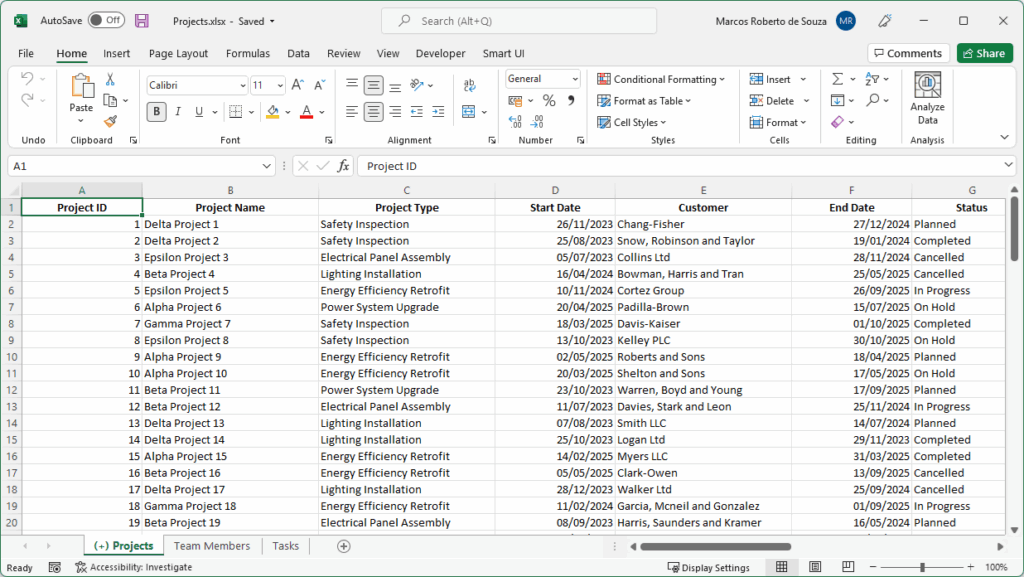
📌 Step 1: Set up your data table in Excel
Create a structured table with the fields you need — like Name, Email, Delivery Date, Status, etc.
📌 Step 2: Install Smart UI and run your interface
Before using Smart UI, make sure the add-in is installed and activated in Excel.
Once installed, open your spreadsheet and go to the “Smart UI” tab in the Excel ribbon.
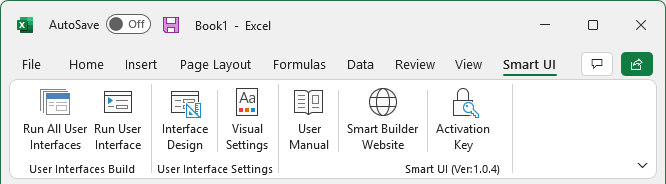
Click on “Run User Interface” — Smart UI will automatically read your table and generate a complete form based on the column headers.
This form includes ready-to-use textboxes, comboboxes, and buttons, fully linked to your worksheet.
💡 If you want to customize the layout, organize related data into subpages, or create advanced field groupings, you can do so later using the “Interface Design” option — but that’s a topic for another post.
📌 Step 3: Use the form to enter, edit, or delete records
Navigation is built-in, and the form is fully linked to your data. You can browse, insert, update, or delete records — all from a user-friendly interface.
🚫 No macros, no coding. Just results.
You don’t need to know VBA. You don’t need to write a single line of code.
Smart UI generates the form for you — based entirely on your Excel data.
🎯 Try it now
Download the Smart UI add-in and see it in action:
✅ Conclusion
If your Excel workflow involves frequent data entry, forms will transform the way you work.
And with Smart UI, anyone — even without technical knowledge — can create smart, structured forms with ease.
Start today and experience faster, cleaner, and more user-friendly data entry — right inside Excel.